This tutorial assumes that you’re working in the same cPanel hosting account where you created the certificate signing request (CSR) which you sent to the Certificate Authority (like Certum!) in exchange for the SSL/TLS certificate itself.
This is because if this is not the same cPanel account where you created the CSR used to produce the certificate you want to install, the steps in this article will not work for you. You will need to go back to the original cPanel account where you created the CSR, and copy out the Private Key. Only then can you apply the certificate elsewhere.
But if this is the same cPanel/hosting account where you generated the CSR earlier and now want to install the newly issued certificate, continue reading.
This tutorial also assumes you already have the certificate, which usually comes in a text-readable PEM or Plain format – something you can easily read and edit with the common text editor, Notepad.
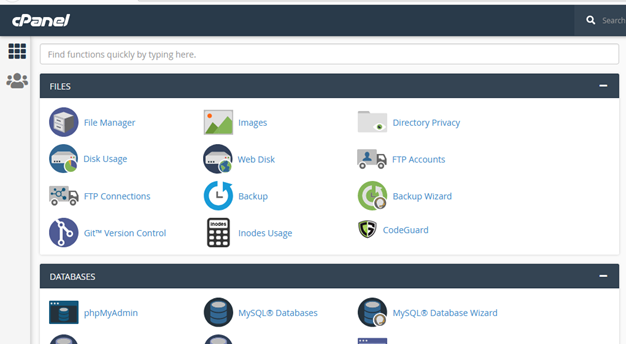
1. First step, login to your cPanel account.
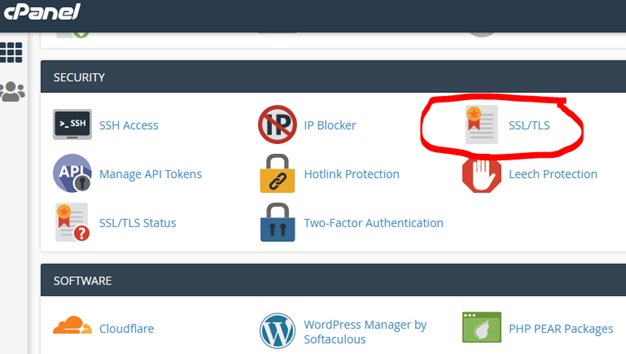
2. Scroll down to the “SECURITY” section and click on “SSL/TLS.”
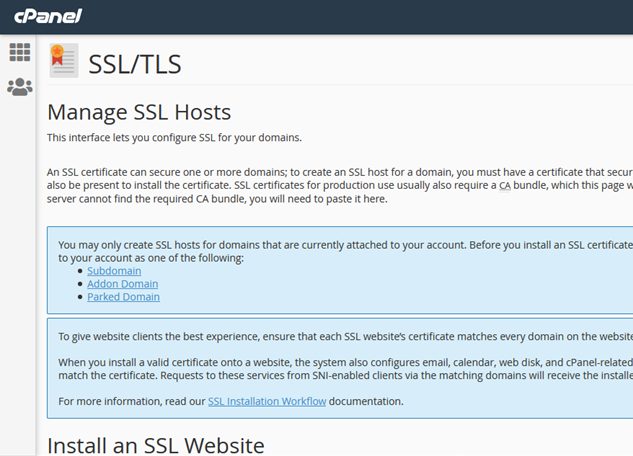
3. Click on “Manage SSL sites” under the “Install and Manage SSL for your site (HTTPS)” subsection:

4. This brings you to the “Manage SSL Hosts” section:
5. Scroll down till you can see the drop-down to select the domain (or subdomain) you want to apply the new certificate to:

In this tutorial we’re applying a newly issued certificate for certum.name.ng, which is what we’ll select.
6. Next, open your PEM/Plain certificate file with Notepad, select and copy all its contents to your Clipboard and then paste it into the “Certificate: (CRT)” text box:
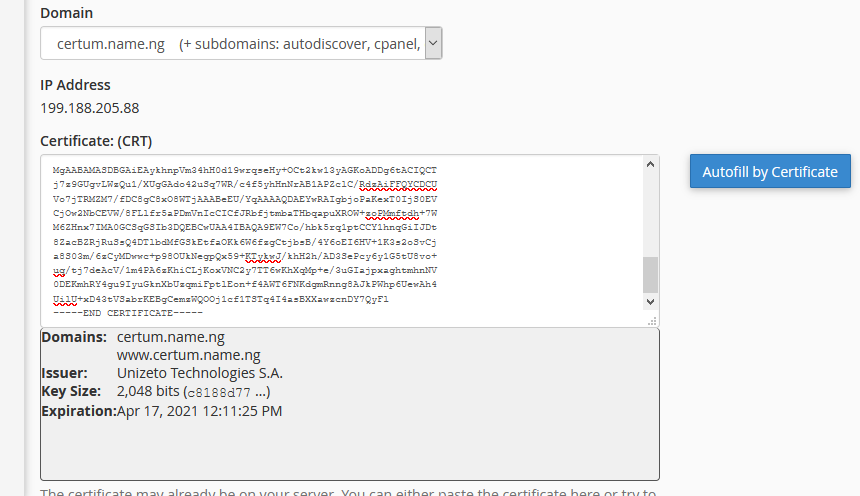
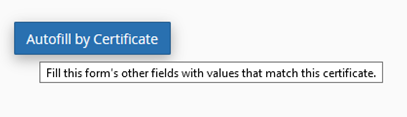
7. Now here’s the magical part. Rather than manually fill-in the boxes for the “Private Key” and “Certificate Authority Bundle: (CABUNDLE),” just click the “Autofill by Certificate” button and cPanel will automatically insert the right Private Key and root certificate for you!
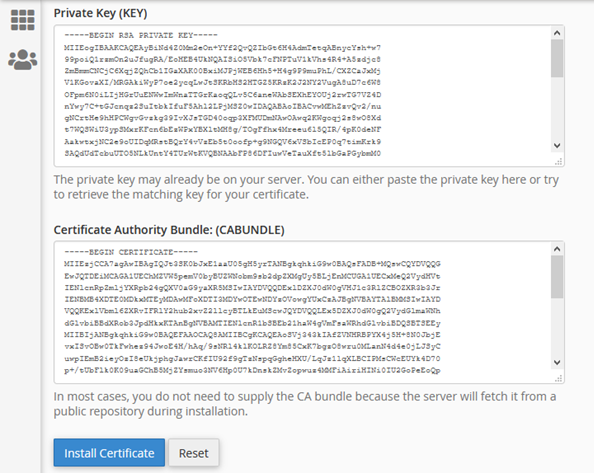
Finally, click Install Certificate to complete the process.
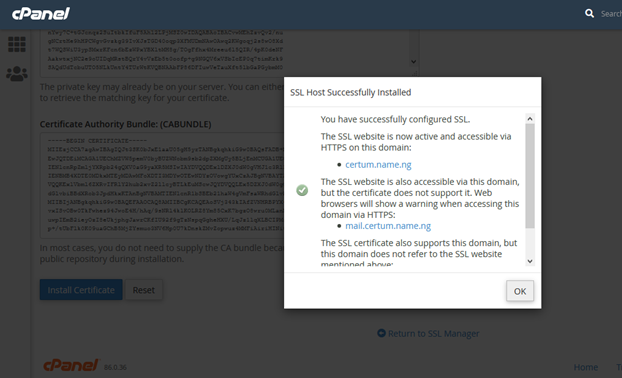
Your certificate has now been installed for that domain in this cPanel account.